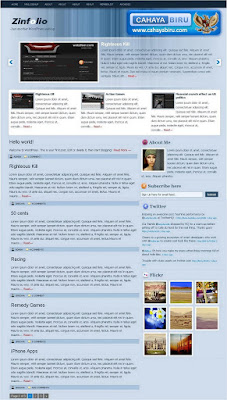
Creative Press

Creative Press Template is three column template with white and blue domination color. Creative press equipped with many Javascript feature included like Slider and Auto Read More. Try the Creative Press Template for your blog, and you’ll get new experience with the feature.
Customize The Logo

Go to Layout – Edit HTML – no need to expand widget template
Find this image address :
https://blogger.googleusercontent.com/img/b/R29vZ2xl/AVvXsEhpLkn39htaqUI1LrCzNmezFXt6jVWkYu6FOW2owOmuCfr7-OKvGbXJQeorwyD51vvDKgAeK_CFM68mmFO-X_p8BGUu35yDTwZZyw9cEUNcLURiuE1lFkHcCuVY-CJ-JJWi0y9gDFxVeg/s400/logo.png
The PSD file of the logo have been attached in download package. Please make customization in your image editor. Upload into webhosting and get the link address.
After that, change it with your own image address that you have been uploaded in webhosting.
Change the Welcoming Sentence
- Go to LAYOUT HTML
- then you see a text widget "welcome to my site"
- press edit then change and fill it with whatever words, up to you ...
SET UP TWITTER
Watch out, There are two place to be changed.OK. After that, change that texts with your Twitter ID
For the first
Go to Edit HTML, then please find this text:
http://twitter.com/twitter
Please change the second twitter text (in red color) with your Twitter ID. For Example:
http://twitter.com/cahayabiru
After that, find this code:
http://twitter.com/statuses/user_timeline/twitter.json
please replace the second twitter text (in red color) with your ID. example
http://twitter.com/statuses/user_timeline/cahayabiru.json
Save your template
Customize The Menu
Go to Layout -- Edit HTML tab
No need to check Expand widget template
Find (Ctrl+F) this below:
<li><a href='#'>Title Here</a></li>
Then, You will find like this:
<li><a href='#'>Title Here</a></li>
<li><a href='#'>Title Here</a></li>
<li><a href='#'>Title Here</a></li>
<li><a href='#'>Title Here</a></li>
<li><a href='#'>Title Here</a></li>
Please, change # symbol with your targeted address.
Change the word Title Here with your own title.
You can edit this in Notepad or wordprocessor.
After all finish, then save your template.
Install The Javascript
Upload the Javascript (JS) file in JS foloder in webhosting. After that, please find this :
JAVASCRIPT-HOSTING-LINK-LOCATION
There are three scripts, change it with the location of your webhosting.
Example:
<script src="JAVASCRIPT-HOSTING-LINK-LOCATION/slider.js" type="text/javascript"/>
with this
<script src="http://fileave.com/cahayabiru/slider.js" type="text/javascript"/>
If your JS feature does not work, please recheck the JS address.
Set The 720x90 Banner
Go to LAYOUT -- EDIT HTML
please find this code
<div class="topban">
after that, paste your ads banner below that code. Then Save template.
If your banner did not align in center position,
Please use <center> </center> to make your banner align center.
For example:
<center> HERE IS YOUR BANNER ADDRESS </center>